So in this blog post I am going to start a series of posts dealing with installing the Elasticsearch stack and then using Winlogbeat to forward Windows event logs and Filebeat to forward bro logs and then finally we will build out some cool visualizations and dashboards. I will be installing the Elasticsearch stack on a single Ubuntu VM for demonstration purposes. This post will be covering installation of Elasticsearch which is the back end of the stack that stores all the logs.
Step 1. Install Java
First I changed to a root prompt and installed java with Ubuntu’s package manager apt.

Step 2. Install Elasticsearch
So next we will install Elasticsearch. These next screenshots are the process.
wget -qO – https://artifacts.elastic.co/GPG-KEY-elasticsearch | sudo apt-key add –

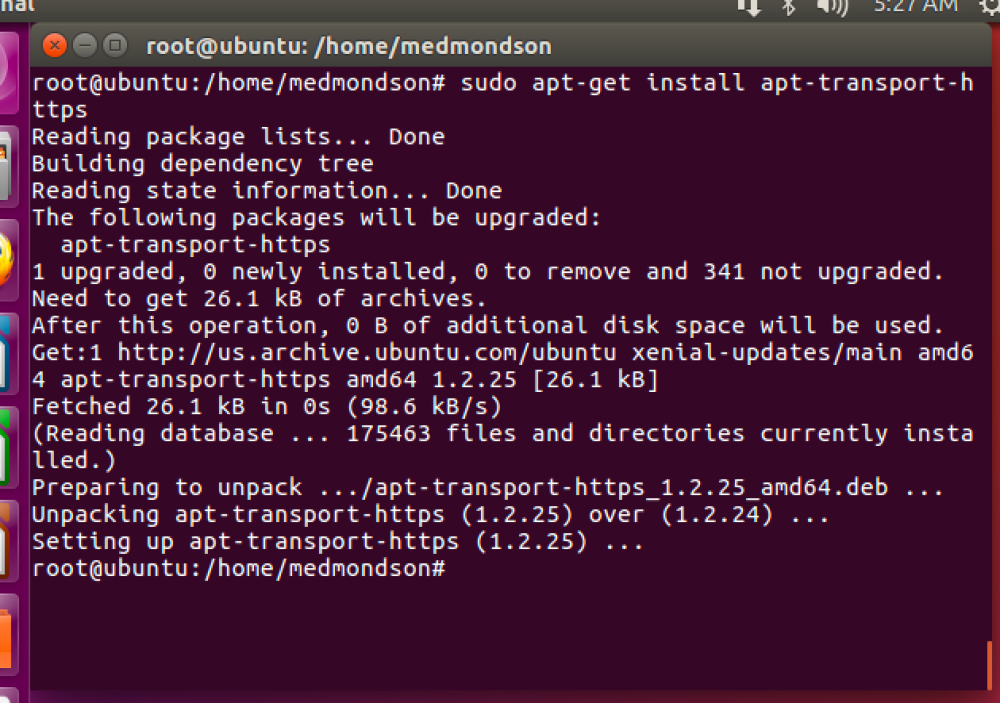
sudo apt-get install apt-transport-https
echo “deb https://artifacts.elastic.co/packages/5.x/apt stable main” | sudo tee -a /etc/apt/sources.list.d/elastic-5.x.list

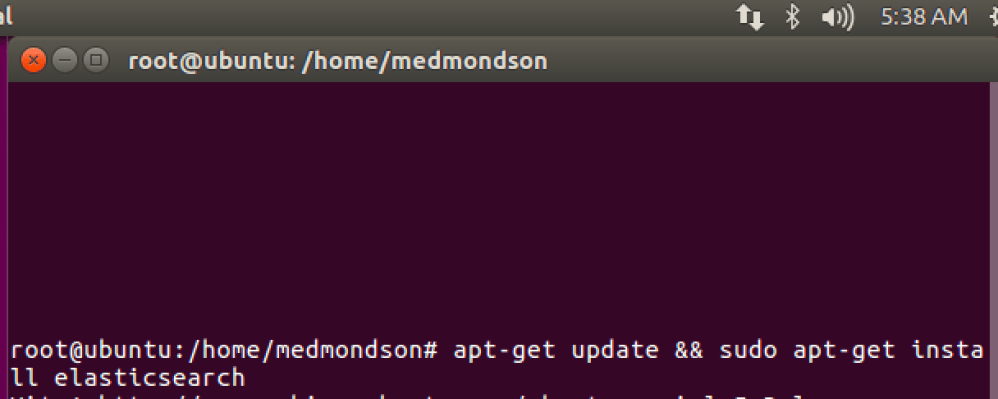
apt-get update && sudo apt-get install elasticsearch
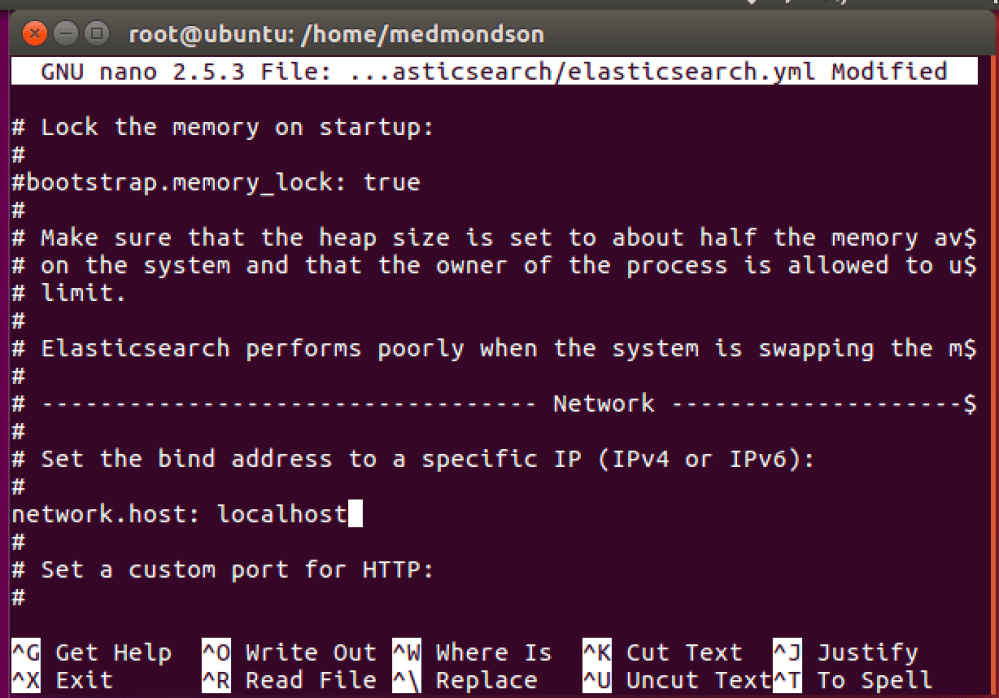
Step 3. Change default IP Address in elasticsearch.yml file
-nano /etc/elasticsearch/elasticsearch.yml
-Delete the # sign to enable the feature
-Delete the default IP address and type “localhost”
-Type CTR+ X to Exit
-Type Y to accept changes and ENTER to save it on the original config file.
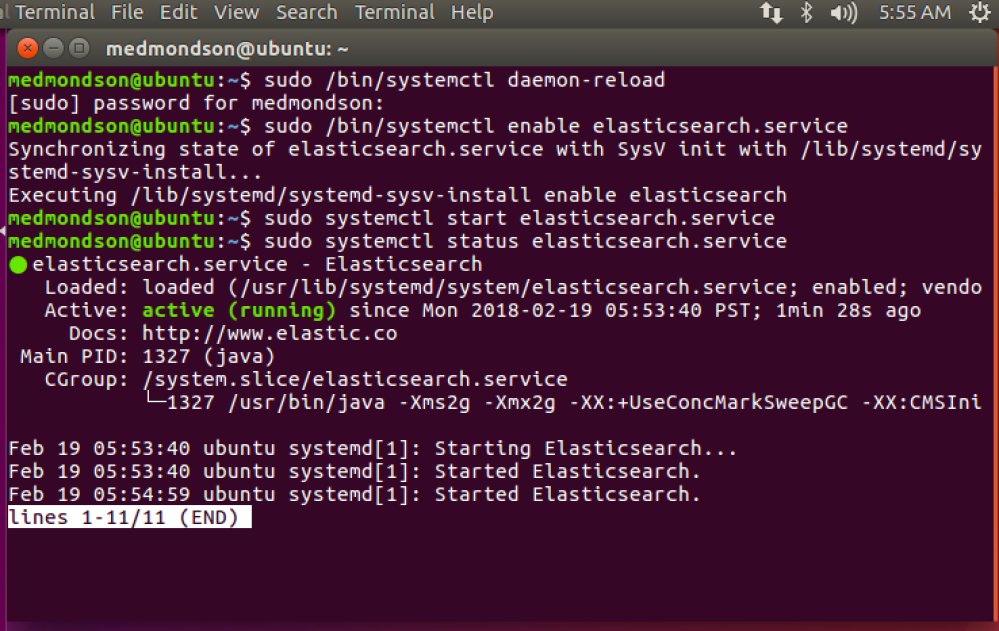
Now we need to start the Elasticsearch service and ensure it starts at reboot. Ensure your VM has ample memory or your Elasticsearch service will fail to start. I ran into this problem during install because I left the VM at it’s default configuration. I gave my VM 4GB.
Step 4. Reload the daemon and enable and start the elasticsearch service
-/bin/systemctl daemon-reload
-/bin/systemctl enable elasticsearch.servic
-sudo systemctl start elasticsearch.service
-sudo systemctl status elasticsearch.service
So that is the process to install Elasticsearch. In the next blog post we will install Logstash, which is the log aggregator or Kibana, which is your front end GUI interface to Elasticsearch.
Happy Hunting,
Marcus
References: https://cyberwardog.blogspot.com/

One thought on “Elasticsearch Stack Install Part 1 Elasticsearch”