So we will be picking up where we left off. We have already installed Elasticsearch so if you have not completed that step yet, Part 1 is here. On with Kibana…
Step 1 Install Kibana:
sudo apt-get update && sudo apt-get install kibana

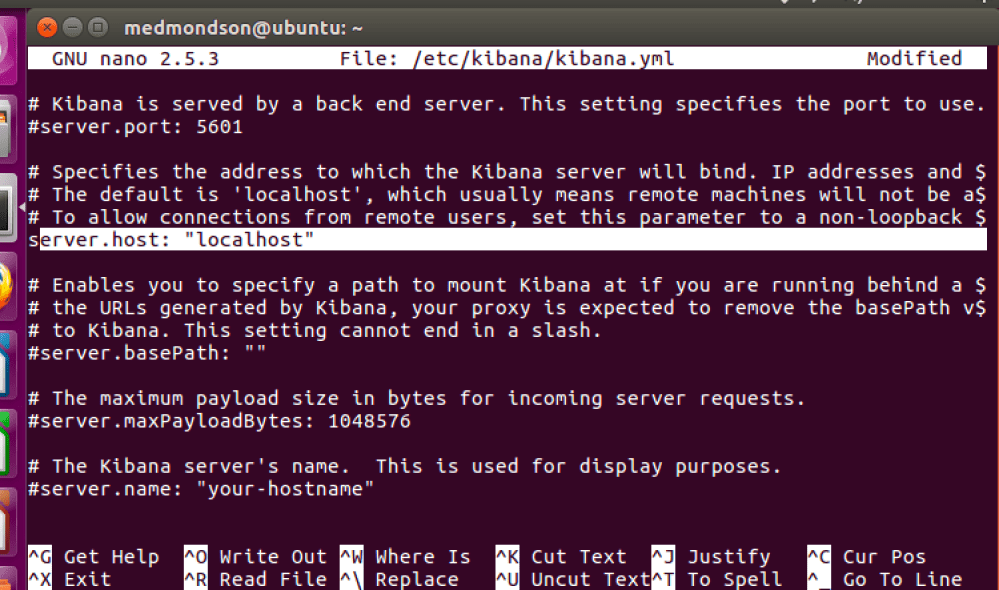
Next we will connect the server to our localhost like we did with Elasticsearch.
sudo nano /etc/kibana/kibana.yml
– Delete the # in front of server.host: “localhost”
– control-x
– y to save
Next we will set Kibana to start at boot just like we did with Elasticsearch.
sudo /bin/systemctl daemon-reload

Next we will start and check the service.
sudo systemctl start kibana.service
sudo systemctl status kibana.service

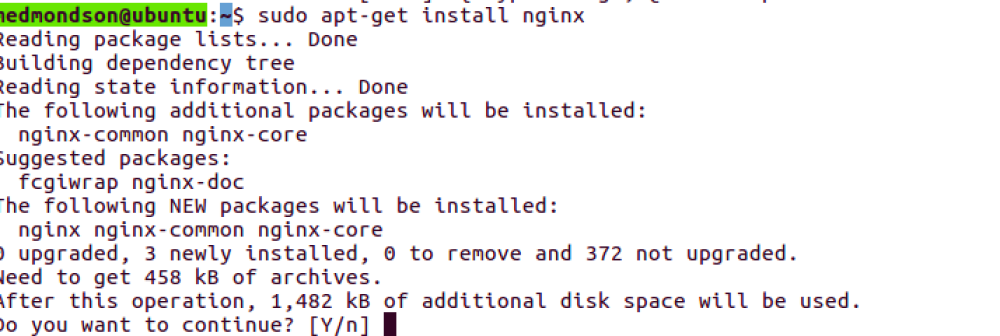
Step 2 Install NGINX
sudo apt-get -y install nginx
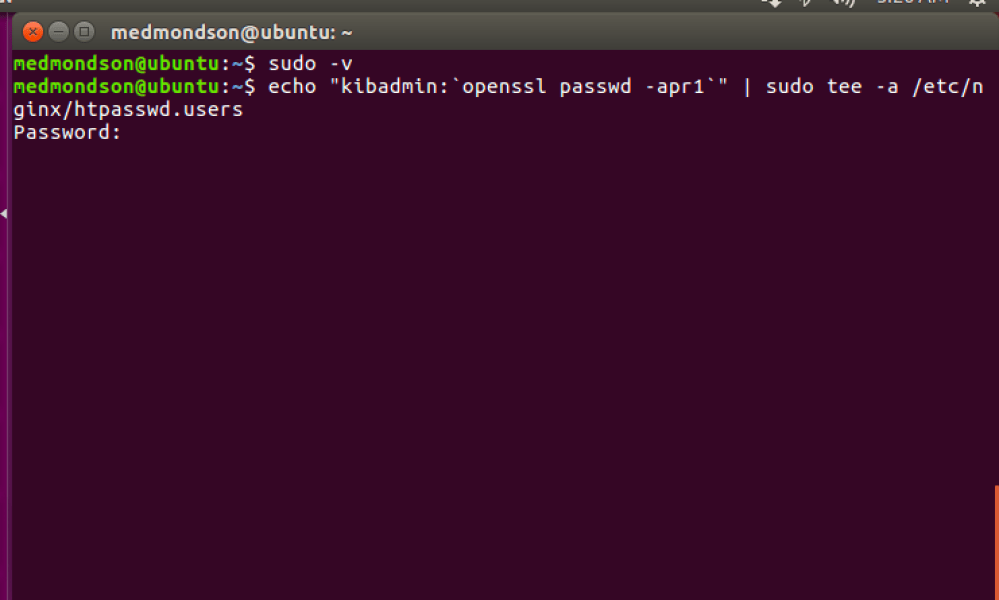
Create an admin user named kibadmin to log on to our Kibana front end.
sudo -v
echo “kibadmin:`openssl passwd -apr1`” | sudo tee -a /etc/nginx/htpasswd.users
Create a new configuration for our nginx application, create a backup of the original one.
sudo mv /etc/nginx/sites-available/default /etc/nginx/sites-available/original_backup_default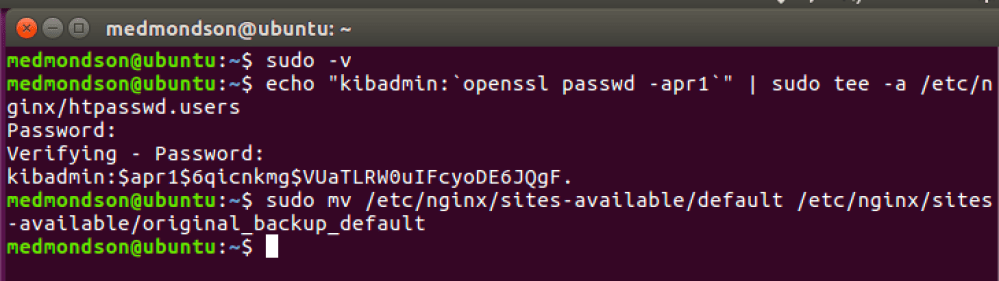
Create a new nginx configuration
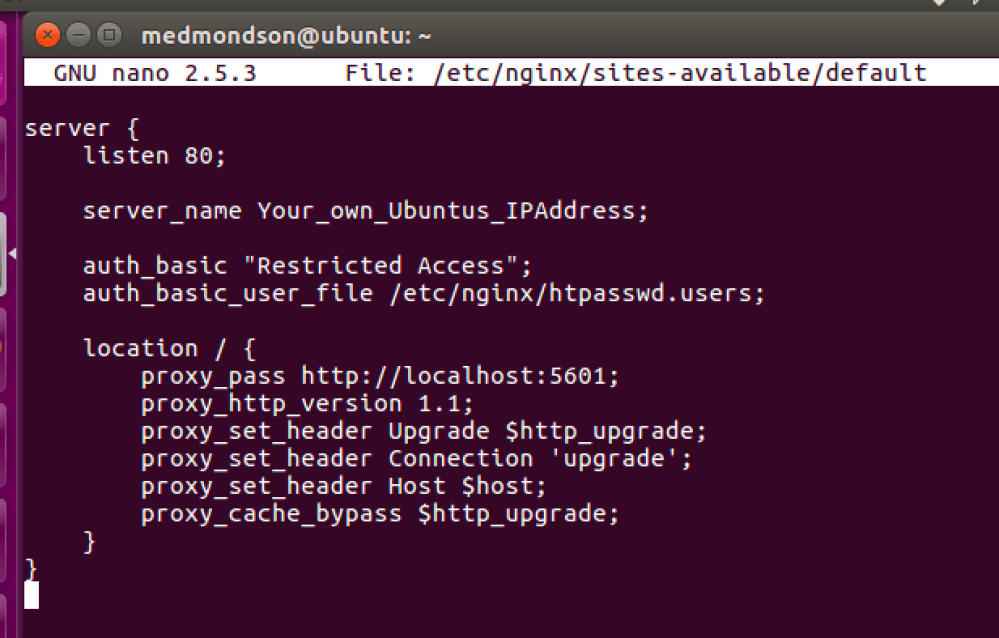
sudo nano /etc/nginx/sites-available/default
Copy this to file:
server {
listen 80;
server_name Your_own_Ubuntus_IPAddress;
auth_basic “Restricted Access”;
auth_basic_user_file /etc/nginx/htpasswd.users;
location / {
proxy_pass http://localhost:5601;
proxy_http_version 1.1;
proxy_set_header Upgrade $http_upgrade;
proxy_set_header Connection ‘upgrade’;
proxy_set_header Host $host;
proxy_cache_bypass $http_upgrade;
}
}
Test your configuration and restart the nginx service
sudo nginx -t
sudo systemctl restart nginx

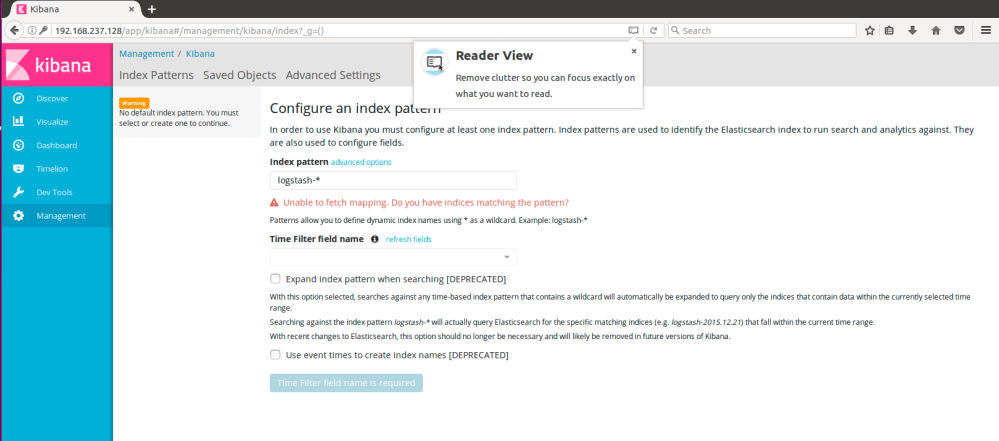
Now go to your browser and type your IP address and log in with the kibadmin account you created and you should be greeted with the Kibana front end interface.
So that is it, if you have been with us since Part 1 you should have Elasticsearch and Kibana up and running. Until next time.
Happy Hunting,
Marcus
References: https://cyberwardog.blogspot.com/
